




How to install an infant car seat

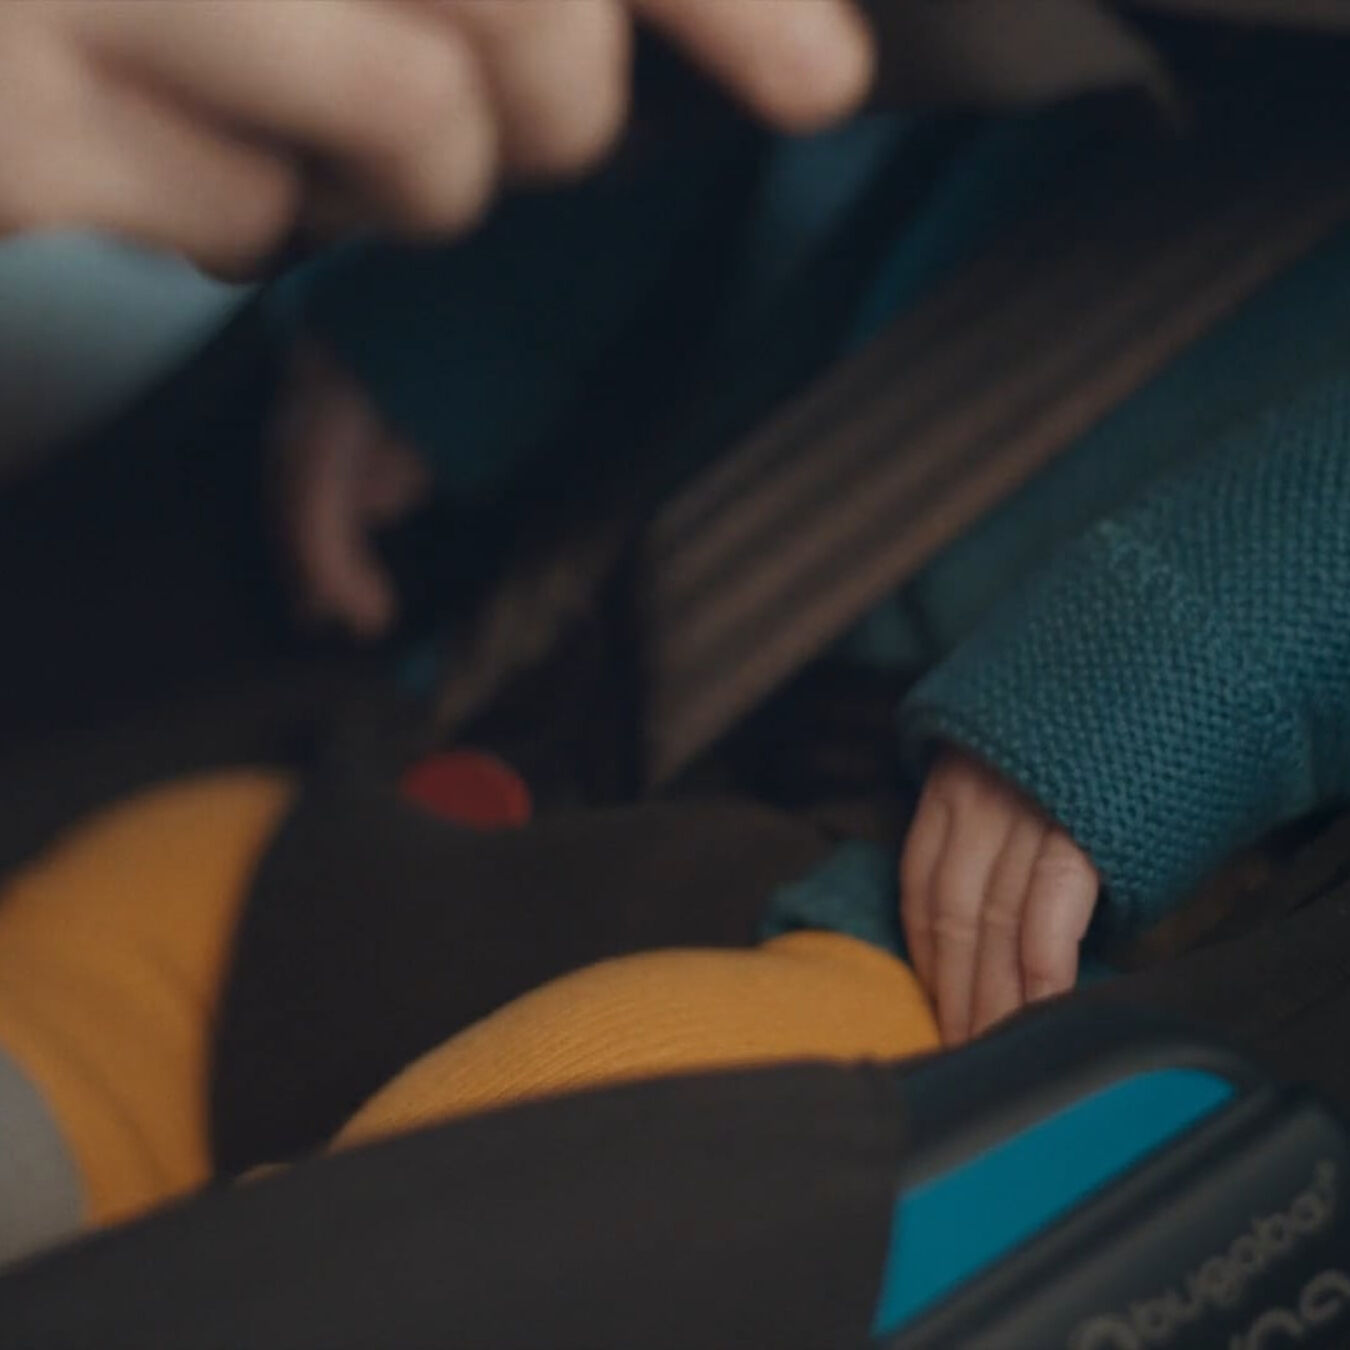
A correctly installed car seat is one of the biggest factors in keeping your baby safe on every trip. In this guide, we'll walk through the general principles that apply to installing any car seat, so you can drive with confidence.
Before you install
1) Check your seat's safety standards
Make sure your car seat meets UK and EU safety standards (R129 i-Size car seat or one that meets the ECE R44/04 standard) and that it's been rigorously tested. Don’t forget to register your new car seat with the manufacturer. This way, you can stay up to date on important product information and be notified quickly if there's ever a safety recall.
2) Refer to the manual
Always check your car seat manual for installation instructions, as every seat is designed differently and may have specific guidelines to follow. Before installing, double-check your vehicle's fit guide for compatibility. And if you've misplaced the manual (it happens), most brands offer a digital version online.
3) Get your seat checked by an expert
Consider getting help from a trained child car seat safety expert. They understand the nuances of different car seat models and vehicles, and stay current on the latest safety guidance. Free car seat checking events are regularly run by organisations such as Good Egg Car Safety in partnership with local councils, retailers, and road safety partnerships, and many larger retailers also offer fitting advice in-store.
How to install an infant car seat with a base
Step 1: Place the base in the car
Place the car seat base in the back seat, which is the safest spot for children under 13. Since not every seating position accommodates a car seat, check your car's owner manual to confirm where installation is allowed.
Step 2: Install the base
You can install the base using the ISOFIX system or the seat belt. Installation details vary by model, so do check your manufacturer’s user guide.
To install the base using ISOFIX:
- Look for the two anchor points in the back seat. Pull out the ISOFIX connectors on the base.
- Push the base firmly against the backrest to lock the base to the vehicle’s ISOFIX anchor points.
- If it’s properly connected, you will either hear a “click”, or, depending on the base model, see a safety indicator showing green.
- Check that the base is firmly in place and is not move side-to-side or front-to-back more than 1 inch.
To install the base using the shoulder/lap belt:
- Route the lap belt through the belt path labeled for it (e.g., "lap belt here").
- Route the shoulder belt diagonally through the belt path, following the label if your base has one (e.g., “shoulder belt here”).
- Buckle the vehicle belt, making sure both the lap and shoulder belts sit flat and are secured under the belt lock-off.
- Press down firmly on the base and tighten. The base should not shift forward or side-to-side more than 1 inch.
Step 3: Open the support leg
If your base has a support leg, pull it open. This leg is designed to minimise the force on your baby in case of impact. Extend the stability leg toward the floor and make sure it’s stable when you lock it firmly in position.
Step 4: Place the car seat on the base
Once your base is anchored to the car, lower the car seat onto the base until it clicks securely into place. If your baby is not already strapped in, buckle them in using the five-point harness, tighten the straps as needed, and you’re ready to go.
Extra tips for a secure car seat installation
1) How to buckle your baby in
Clip your baby in according to your car seat’s instructions, and adjust the harness so that it sits tightly against their body but they're still comfortable. If you can't fit two fingers under the straps, they're on too tight. If more than two fingers fit, they're too loose. You can also do a "pinch test" to check the tightness. If you can pinch any of the straps, they're too loose.
Don't put your baby in the seat with a winter coat on, as bulky clothing can create a false sense that the harness is secured tightly.
2) Rear-facing vs. forward-facing: When to switch
For infant car seats, always install rear-facing. It’s the safest position for protecting a newborn's head, neck, and spine. Under UK law, babies using an i-Size (R129) seat must remain rear-facing until at least 15 months old, and it's strongly recommended to keep them rear-facing for as long as possible after that. Keep your child rear-facing until they reach the height or weight limit set by your specific seat's manufacturer. This varies by model, so check your manual rather than relying on a fixed age, and transition to a forward-facing seat only once they've outgrown those limits.
3) Travel systems: Pairing your car seat with a pushchair
Many infant seats also work as part of a travel system and can click onto your pushchair for a seamless switch between car and road (separate adapters are usually required). If you'll be moving between vehicles often, consider adding an extra base for a second car or a family member's car, so you're not swapping the same base back and forth.
Final thoughts
Installing a car seat correctly is crucial for your baby's safety during travels. Start by choosing a high-quality, new car seat and always check the manual for model-specific instructions. If you're unsure, don't hesitate to get your seat checked by a trained expert. When setting up an infant car seat, keep it rear-facing and secure it firmly using either the ISOFIX system or a seat belt. With these steps, you'll create a safe, comfortable ride for your newborn every time.